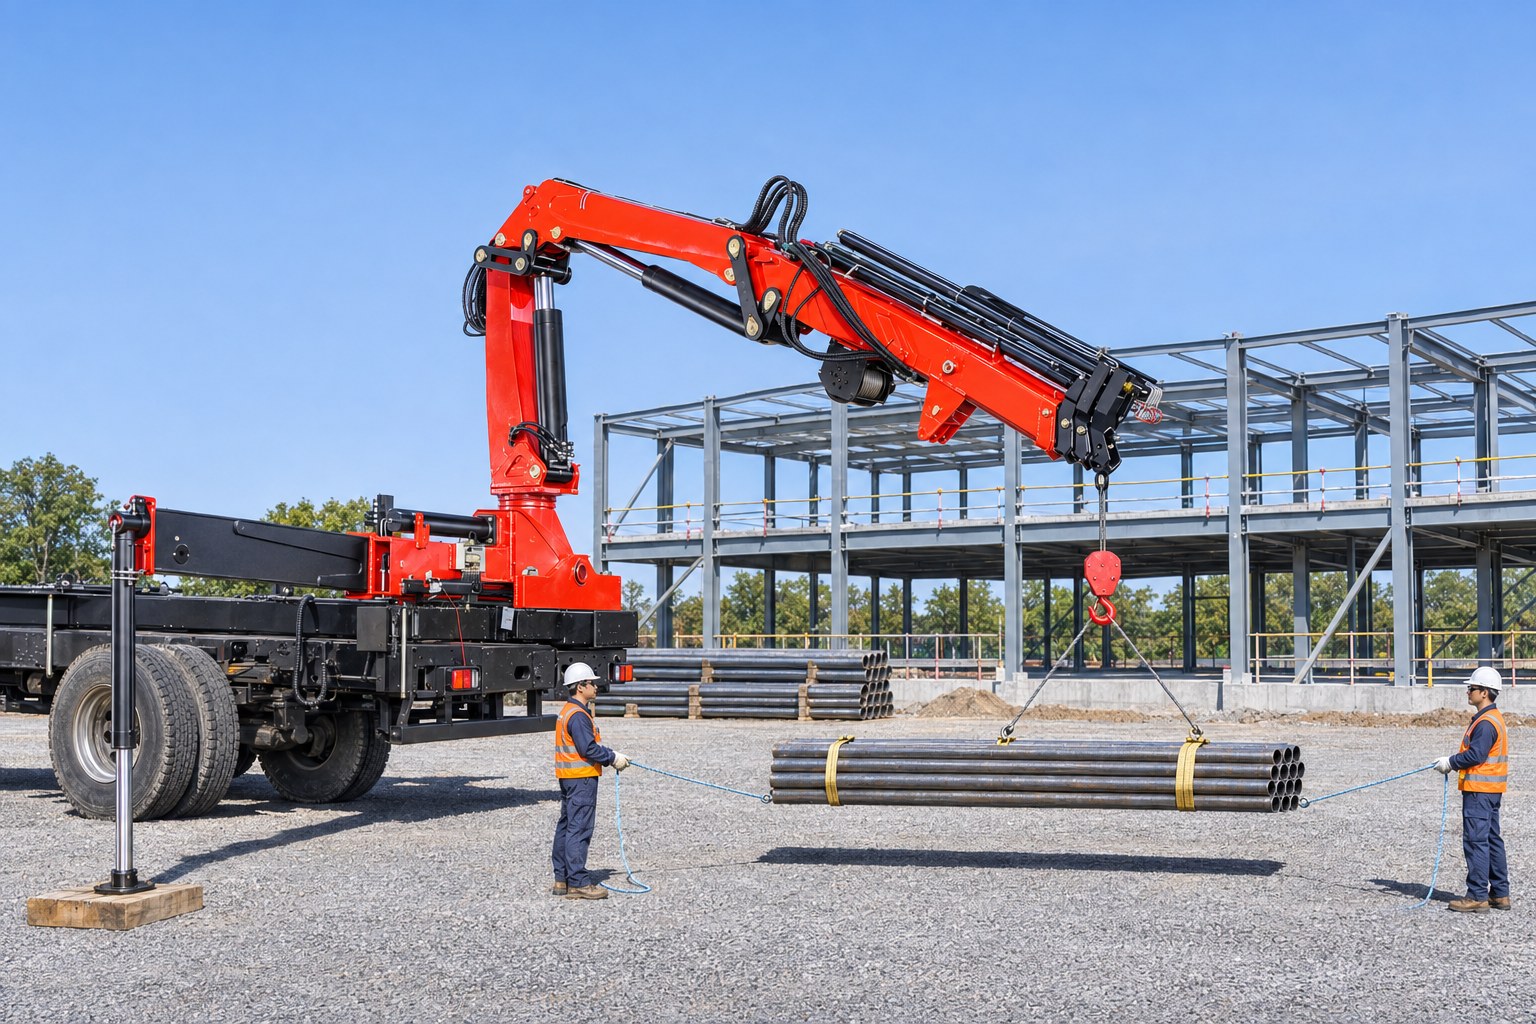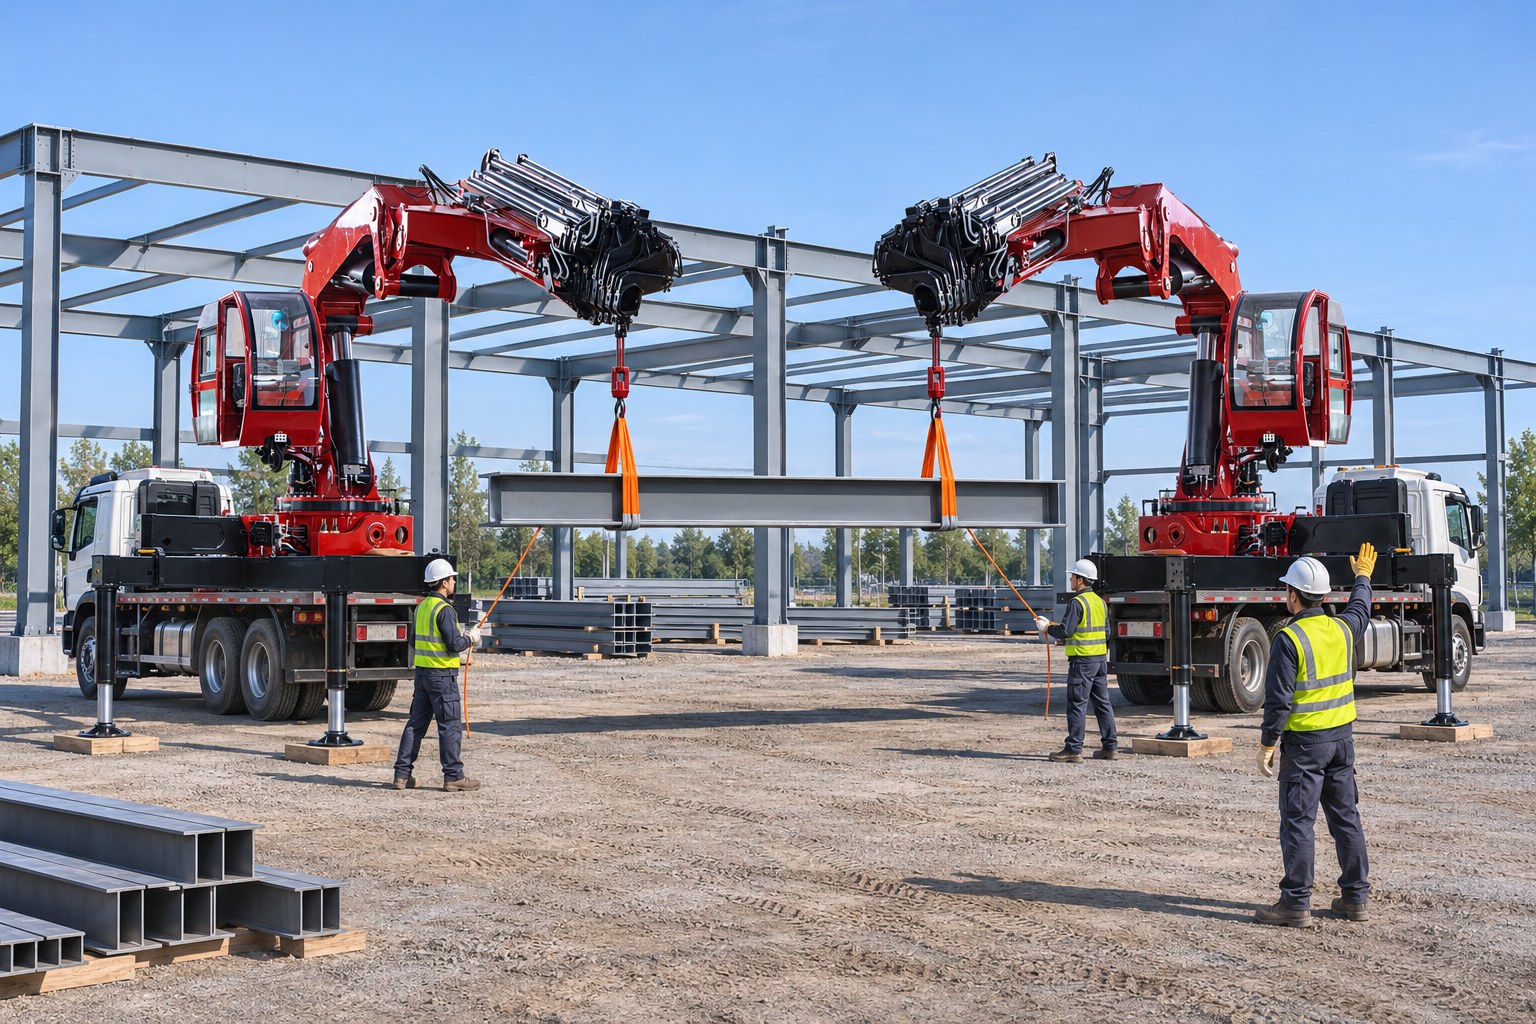

A rigging shackle is a removable U-shaped connector, made of a forged body and a pin, that joins slings, lifting lugs, hooks and loads in a crane lift. Riggers choose between two body shapes, the bow (also sold as the anchor shackle) and the D, and among three common pin styles: screw pin, bolt type and round pin. The shackle is safe only within the working load limit stamped on its body, pulled in line, with the correct pin fully seated.
BOB-LIFT has built truck mounted cranes in Xuzhou since 2003, and the loads our customers lift hang from slings joined by shackles. This guide explains the shackle types, the pin styles and their uses, the markings a shackle must carry, how side loading cuts its capacity, and when to take one out of service. It ends with a worked check of a two-leg bridle with bow shackles under a real BOB-LIFT telescopic crane. We build the cranes only; shackles and slings come from rigging suppliers.
Key takeaways
- A bow (anchor) shackle has room for more than one sling eye and tolerates some angled pull, whereas a D (chain) shackle is meant for loads in line with its body.
- Screw pin shackles suit rigging that is changed after each lift; bolt type shackles, with a nut and cotter pin, suit shackles left in place or turning on the pin.
- US construction rules forbid loading a shackle above the working load limit marked on it, and a shackle without a legible marking must not be used.
- The Brookhaven rigging workbook cuts a screw pin or bolt type shackle’s rated load by 30% for a side load of 5° to 45° and by 50% for 46° to 90° [2].
- In our example, a 7/16 in shackle passes a 1,131 kg leg pulled in line but fails once the leg pulls it 30° off line, so check each shackle at its real angle.
What is a rigging shackle?
NSW Government’s Dogging and Rigging guide describes shackles as “a portable link used for joining various pieces of lifting equipment” [1]. A shackle joins, for example, a sling eye to a lifting lug or two sling eyes to a hook. Every shackle has three parts: the body, which forms the bow or D; the two eyes (also called ears) at the open end; and the pin that closes them. According to the guide, “the nominal size of a tested shackle refers to the body diameter”, and “all tested shackles have a pin larger than the body”.
Shackles belong to the rigging hardware family. The ASME B30.26 standard on rigging hardware covers “shackles, links, rings, swivels, turnbuckles, eyebolts, hoist rings, wire rope clips, wedge sockets, rigging blocks and load indication devices” [4]. A shackle’s rating is given as a working load limit (WLL); our guide to safe working load vs working load limit explains the two terms and the design factor behind them. For slings, hitches and sling angles, see our crane rigging and slings guide. Lifting beams, clamps and other devices hung from the hook form a separate group, covered in our guide to below-the-hook lifting devices.
Bow (anchor) shackle vs D (chain) shackle
NSW names the “dee” and the “bow” as “the two main shapes for load lifting” [1]. The bow shackle is the shape with a rounded, wider loop. Wikipedia notes that it “can take loads from many directions without developing as much side load”. It adds that the larger loop “does reduce its overall strength” and that the shape is “also referred to as an anchor shackle” [3].
The D shackle, also called a chain shackle, has a narrow body with straight sides. Wikipedia says its small loop “can take high loads primarily in line”, whereas “side and racking loads may twist or bend a D-shackle” [3].
| Shape | Other names | Best use | Watch for |
|---|---|---|---|
| Bow | Anchor shackle | Two sling eyes in the bow, or a pull that may move a little off line | NSW allows at most two slings in the bow, at no more than 60° |
| D | Chain shackle, dee shackle | A single in-line pull, such as a sling eye to a lug or a chain to a fitting | Side and racking loads can twist or bend the body |
Swivels are listed by ASME as rigging hardware alongside shackles [4]. Use a swivel only where it is made and marked for lifting, because the US marking rule below applies to all rigging equipment. For long D and wide body shackles, take the shape, the intended sling and the rating from the maker’s instructions and the shackle’s own marking.
Screw pin, bolt type and round pin shackles
The pin decides how quickly a shackle can be opened and how securely it stays closed. In the common type, NSW says, the pin “screws directly into one eye and should have a collar”. In a second type, the pin passes “clear through both eyes” and is secured “by a split pin forelock (split flat cotter pin) or nut and split pin” [1].
- Screw pin shackle: the threaded pin screws into one eye. It is quick to fit and remove, so riggers use it for connections that change from lift to lift. NSW advises hand-tightening the pin and then loosening it “by a quarter turn”, so it can be unscrewed once the weight is released [1].
- Bolt type shackle: a bolt runs through both eyes and is held by a nut and a cotter pin, so it cannot unscrew. Wikipedia calls this nut-and-cotter version “a more secure version used in crane rigging” and says pin shackles are practical “where the anchor bolt is expected to experience some rotation” [3]. NSW treats the pin-and-forelock shackle as a safety shackle, used mainly for standing rigging, hidden connections and places with vibration.
- Round pin shackle: a pin held only by a cotter pin, similar to a clevis [3]. It has no nut, so check that the cotter is fitted and spread before every use.
A screw pin left in place for a long time can work loose. NSW’s advice is to mouse the pin to the body or, better, to use a safety pin style shackle [1]. Wikipedia describes mousing as looping wire or a nylon tie “through the hole in the pin and around the shackle body” [3]. NSW’s page on swivels and sheave blocks adds that the screw pins of D or bow shackles “should be moused where used on standing rigging, and on running rigging where the pin can become unscrewed” [6].
What markings must a shackle have?
On US construction sites, 29 CFR 1926.251(a)(2) requires rigging equipment to have “permanently affixed and legible identification markings as prescribed by the manufacturer that indicate the recommended safe working load”. Rigging equipment must not be used without those markings. For shackles specifically, paragraph (f)(1) says employers “must not use shackles with loads in excess of the rated capacities (i.e., working load limits) indicated on the shackle”.
The Brookhaven National Laboratory rigging workbook expects forged, cast or die-stamped markings giving the “name or trademark of the manufacturer, rated load/capacity (WLL or SWL), and size”. It also removes a shackle from service when the capacity marking is missing [2]. NSW says shackles “must be branded with the working load limit (WLL)” and adds batch test number and steel grade to the inspection list [1]. An unmarked or unreadable shackle therefore goes out of service, whatever its size.
How does side loading reduce a shackle’s capacity?
A shackle’s marked WLL assumes a pull in line with its body, from the bow to the middle of the pin. NSW states that shackles “are designed to take vertical forces only. Diagonal forces will strain the shackle and lead to eventual failure” [1]. Where a side load cannot be avoided, the Brookhaven workbook reduces the rated load of screw pin and bolt type shackles by the angle of the side load, measured from the in-line direction [2].

The table behind the chart allows the full rating from 0° to 5°, cuts it by 30% from 5° to 45° and by 50% from 46° to 90°, and says to avoid side loads over 90°. Brookhaven adds that a shackle’s rating “only applies when they are symmetrically loaded and the included angle between two sling legs is a maximum of 120°”. Where the shackle maker publishes its own side-load figures, use those instead.
How do you use a shackle correctly on a crane lift?
The following rules come from the NSW and Brookhaven guidance cited above. Each one keeps the pull in line with the shackle or keeps the pin secure.
- Seat the pin fully: the pin shoulder must sit flush on the eye. Brookhaven lists “incomplete pin engagement” as a reason to remove a shackle [2], and NSW includes “that the pin is always seated” in its checks [1].
- Keep the original pin: NSW says: “Never swap the pin of a shackle with an alternative pin or nut.” A bolt from the workshop is not a shackle pin.
- Centre the load on the pin: a single sling or another shackle on the pin makes the shackle tilt. NSW advises packing the pin “with washers or ferrules to keep the load in the centre of the pin”.
- Put sling eyes in the bow and the pin on the hook: when one shackle gathers several slings, NSW says to use a bow shackle “large enough for all the eyes”. The guide adds that “the pin of the shackle should rest on the hook” and states that “a bow shackle can accommodate a maximum of 2 slings at a maximum of 60 degrees”.
- Secure pins that stay in place: mouse a screw pin or switch to a bolt type shackle wherever vibration or rotation could loosen it [1].
Note that NSW’s two-sling limit of 60° is much tighter than Brookhaven’s 120° included angle, so follow the stricter figure unless the shackle maker states otherwise. Where a shackle connects a sling to a lifting lug, the pin goes through the lug’s hole and the sling eye sits in the bow, so the shackle lines up with the leg. Our guide to lifting lugs and pad eyes covers that connection, including pin fit and lug direction. For the hook end of the rigging, see our crane hook guide, and for lifting beams, our spreader bar guide.
When should a shackle be removed from service?
Under 29 CFR 1926.251(a)(1), rigging equipment “shall be inspected prior to use on each shift”, and “defective rigging equipment shall be removed from service”. Brookhaven asks for a shackle check “daily before use and frequently during use” and removes a shackle when any of these conditions appears [2]:
- missing or illegible manufacturer, capacity or size markings;
- heat damage, including weld spatter or arc strikes, and any evidence of unauthorized welding;
- excessive pitting or corrosion, nicks or gouges;
- a “10% reduction of the original or catalog dimension at any point around the body or pin” [2];
- a spread, bent, twisted, stretched, elongated, cracked or broken body or pin;
- incomplete pin engagement, or excessive thread damage.
NSW sets the same 10% wear limit for the crown and the pin. It also warns that a bent or strained shackle may hide microscopic cracks that “can extend under quite small loads and lead to complete failure” [1]. In Great Britain, HSE lists shackles among lifting accessories, defined as equipment that attaches a load and “is not a permanent part of the load” [5]. LOLER regulation 9 therefore requires a thorough examination of an accessory for lifting exposed to deterioration “at least every 6 months”, or under an examination scheme. Our LOLER guide for lorry loaders explains those examinations.
Example: a two-leg bridle with bow shackles under a BOB-LIFT SQ6.3SA4
Example scenario (an illustration, not a customer record): a crew must set a steel frame on a plinth 5.6 m from the slewing centre of a BOB-LIFT SQ6.3SA4 telescopic truck mounted crane. All load and rigging figures are ASSUMED; the crane figures come from the SQ6.3SA4 dimension drawing and load chart.
- Load: a 1,600 kg frame with two lifting lugs, one at each end.
- Rigging: a two-leg wire rope bridle on a master link, with a bow shackle pinned through each lug; sling, master link and shackles weigh 35 kg. The hook block is counted as a further 40 kg, because the drawing does not say whether its weight is already deducted.
- Gross load on the crane: 1,600 + 35 + 40 = 1,675 kg.
- Leg tension: 1,600 ÷ (2 × sin θ), with θ measured from horizontal. With the legs at 60°, each leg and its shackle carry about 924 kg; at 45°, about 1,131 kg.
Next, compare each leg tension with shackle ratings from the Brookhaven capacity table for forged shackles with alloy pins, converted at 1 lb = 0.45359237 kg [7]. A real shackle carries its own marked WLL, which overrides the table.
| Shackle size (table WLL) | Legs at 60°, in line (924 kg) | Legs at 45°, in line (1,131 kg) | Legs at 45°, 30° side load (WLL × 0.7) |
|---|---|---|---|
| 3/8 in (2,000 lb = 907 kg) | Fails by 17 kg | Fails by 224 kg | Fails (635 kg usable) |
| 7/16 in (3,000 lb = 1,361 kg) | Passes, 437 kg spare | Passes, 230 kg spare | Fails (953 kg usable) |
| 1/2 in (4,000 lb = 1,814 kg) | Passes, 890 kg spare | Passes, 683 kg spare | Passes (1,270 kg usable, 139 kg spare) |
The side-load column matters here. If the lug plates run along the frame while the bridle legs lean toward the hook, each shackle is pulled off line. A 7/16 in shackle that passes comfortably for a straight pull then drops below the leg tension. Either turn the shackle into line with the leg, or use the 1/2 in size.
Suppose the crew gathered both sling eyes in one bow shackle on the hook instead of a master link. The included angle between the legs would then be 60° with the legs at 60° from horizontal, and 90° at 45°. The first meets NSW’s 60° limit; the second meets only Brookhaven’s 120° limit, so the master link is the cleaner choice.

Then check the crane. OSHA’s crane rules define the load as the object plus “the load block, ropes, slings, shackles, and any other ancillary attachment” (29 CFR 1926.1401). The SQ6.3SA4 drawing lists 6,300 kg maximum capacity, a 15.75 t·m lifting moment and a 2,600 kg crane weight, together with a table of rated loads by boom length and boom angle.
| Boom length / angle | Radius | Rated load | Gross load 1,675 kg |
|---|---|---|---|
| 7.44 m at 40° | 5.6 m | 2,100 kg | Passes, 425 kg spare |
| 7.44 m at 30° | 6.3 m | 1,800 kg | Passes, 125 kg spare |
| 10.14 m at 40° | 7.7 m | 1,300 kg | Fails by 375 kg |
The lift works at 5.6 m with 425 kg to spare, but the margin shrinks to 125 kg at 6.3 m, and the crane cannot set the frame at 7.7 m. Our guides on how to read a crane load chart and on writing a crane lift plan show where these figures belong. Every BOB-LIFT crane is listed with a load moment limiter, as our article on the lifting moment of a crane explains. A limiter weighs the whole load; it cannot tell that one shackle is pulled 30° off line, as our load moment indicator guide describes.
Finally, rig for the people near the load. Under 29 CFR 1926.1425(c), when workers hook, unhook or guide a load inside the fall zone, “the materials being hoisted must be rigged to prevent unintentional displacement” and “must be rigged by a qualified rigger”. Paragraph (w) of 1926.1417 adds that “a tag or restraint line must be used if necessary to prevent rotation of the load that would be hazardous”.
The full drawing and load chart are on the SQ6.3SA4 product page.
Frequently asked questions
What is the difference between an anchor shackle and a D shackle?
An anchor shackle is the bow shape: a wider, rounded loop that can hold two sling eyes and copes better with a pull slightly off line. A D shackle, or chain shackle, has a narrow body for loads in line with the shackle; side loads can twist or bend it.
Is a screw pin or a bolt type shackle better for lifting?
Each is used only up to its own marked WLL. Screw pin shackles suit rigging that is fitted and removed for each lift. Bolt type shackles, with a nut and cotter pin, suit connections left in place, exposed to vibration or turning on the pin, because the pin cannot unscrew.
How much capacity does a shackle lose when side loaded?
The Brookhaven rigging workbook reduces a screw pin or bolt type shackle’s rated load by 30% for a side load of 5° to 45° from in line, and by 50% for 46° to 90°. It says to avoid side loads beyond 90°. A shackle maker’s own figures take priority.
How many slings can go in one shackle?
NSW rigging guidance allows at most two slings in a bow shackle, at no more than 60°, with the pin resting on the hook. Brookhaven’s rating condition allows an included angle up to 120°. Use the stricter limit, or a master link, unless the maker states otherwise.
Does BOB-LIFT supply shackles with its cranes?
No. We build truck mounted and marine cranes, and shackles and slings come from rigging suppliers. Send us your load weight, rigging weight and working radius, and we will check them against the load chart of the crane you are considering.
How we compiled this guide
The shackle guidance comes from the NSW Government Dogging and Rigging guide (shackles and eyebolts; swivels and sheave blocks) and the Brookhaven National Laboratory Basic Rigging Workbook. The shape and pin descriptions come from Wikipedia’s “Shackle” entry, and the scope of ASME B30.26 from the ASME website. HSE’s lifting equipment questions page gave the definition of a lifting accessory. We quoted the rules from the official eCFR text of 29 CFR 1926.251, 1926.1401, 1926.1417 and 1926.1425 and from LOLER regulation 9 on legislation.gov.uk, all read in November 2026. The crane figures come from the BOB-LIFT SQ6.3SA4 dimension drawing and load chart, and the example uses clearly marked assumed weights. Achord Chan, Product Operations Director, carried out the editorial review. This guide does not replace the shackle maker’s instructions, the crane’s operator’s manual or the regulations where you work.
Need a crane sized for your rigging?
Tell us the load weight, the weight of the slings, shackles and any lifting beam, and the radius at which the load must land. We will recommend a telescopic truck mounted crane or a knuckle boom crane and send its dimension drawing and load chart. If you buy the truck in China, we can fit the crane at our factory; if you buy it locally, we ship the crane, a local body builder fits it and we support the work remotely. Contact us for a quotation; every crane carries a 12-month warranty on the whole machine.